Remove furniture from a room photo
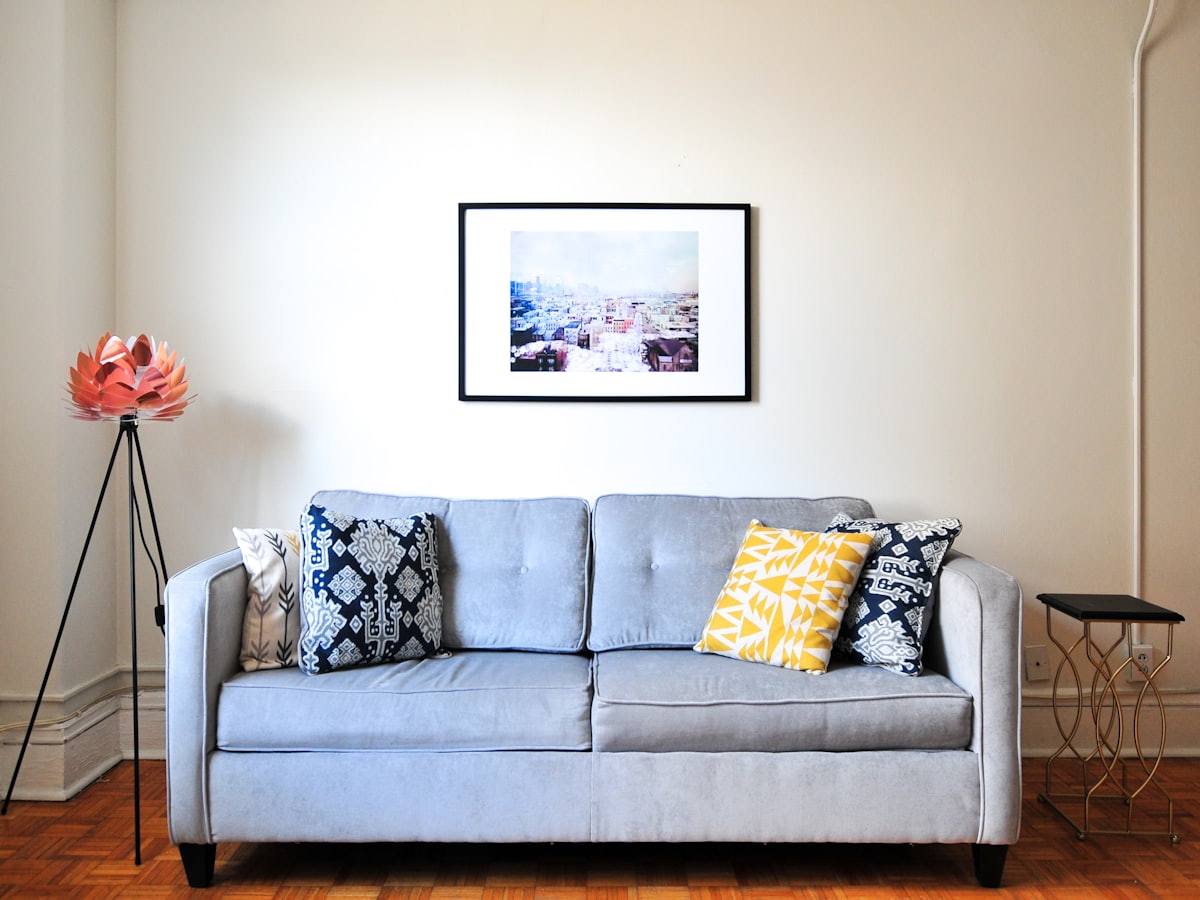 Full room
Remove furniture is for photos that are too full: inherited sofas, packing boxes, or a layout you already rejected. The goal is a clearer floor with the same windows and walls, not a demolished room. Architecture stays. After a remove pass you can run Add furniture or Room redesign on a cleaner plate. Tags will be sparse if little remains to buy.
What should stay in the photo
Built-ins, radiators, and fixed lighting should survive. The model should not erase a window to make the room look larger. If you only want one object gone, say so in a later chat pass; this job is the whole clutter layer, not a single lamp.
After you clear the floor
A blank plate is useful only if you then choose what fits. Open Add furniture or Empty room staging next, still with the same room type. Do not treat a stripped image as a shopping list. Nothing was purchased; you only removed visual noise.
This phase is a rehearsal
Generate still uses a stand-in after-image. Practice selecting Remove, your room type, and a style for whatever remains. Real item removal will land in a later API. Credits still count a successful fake run so the guest limit stays honest.
Use Remove furniture with your photo
Other tools
- Room redesign — Keep your walls and walkways. Change the furniture plan so pieces can sit in this room.
- Empty room staging — Start from a vacant floor and place furniture that can actually fit the room you photographed.
- Add furniture — Keep most of the room. Place one or two pieces that can sit in the empty spots you can see.