| Planning detail | What to expect |
|---|---|
| Best for | Comparing a few paint-only changes in an existing room |
| Budget range | Free digital exploration; samples and painting cost extra |
| Difficulty | Easy with clear wall edges; harder around clutter and decorative details |
| Time | Around 30–60 minutes for a first comparison, plus physical testing |
| Maintenance | Save colour references and project notes; maintain the actual finish as specified |
- Low scope — $0 digitally: Use a free feature, your own photograph and a short comparison list. No physical changes are included.
- Sample stage — approximately $20–$75: Allow for a few sample products, boards and basic application supplies. Larger samples or multiple finishes can cost more.
- Mid scope — approximately $150–$450: An example materials allowance for DIY painting the walls of one modest room with sound surfaces. This excludes your labour, ceilings, extensive trim work and major repairs.
- High scope — obtain local quotations: Professional preparation, high ceilings, detailed woodwork, access equipment or several connected rooms can outweigh the paint cost itself.
Paint My Home Online Free: A Practical No-Cost Plan
What determines the real cost of a free preview?
Know what the tool is changing
Build a free plan around the room you have
1. Set a paint-only boundary
2. Photograph the room without disguising it
3. Choose a tool by its free limits
4. Make three versions, not thirty
5. Account for climate and room use
6. Turn the shortlist into a small shopping decision
Choose the free approach that matches the question
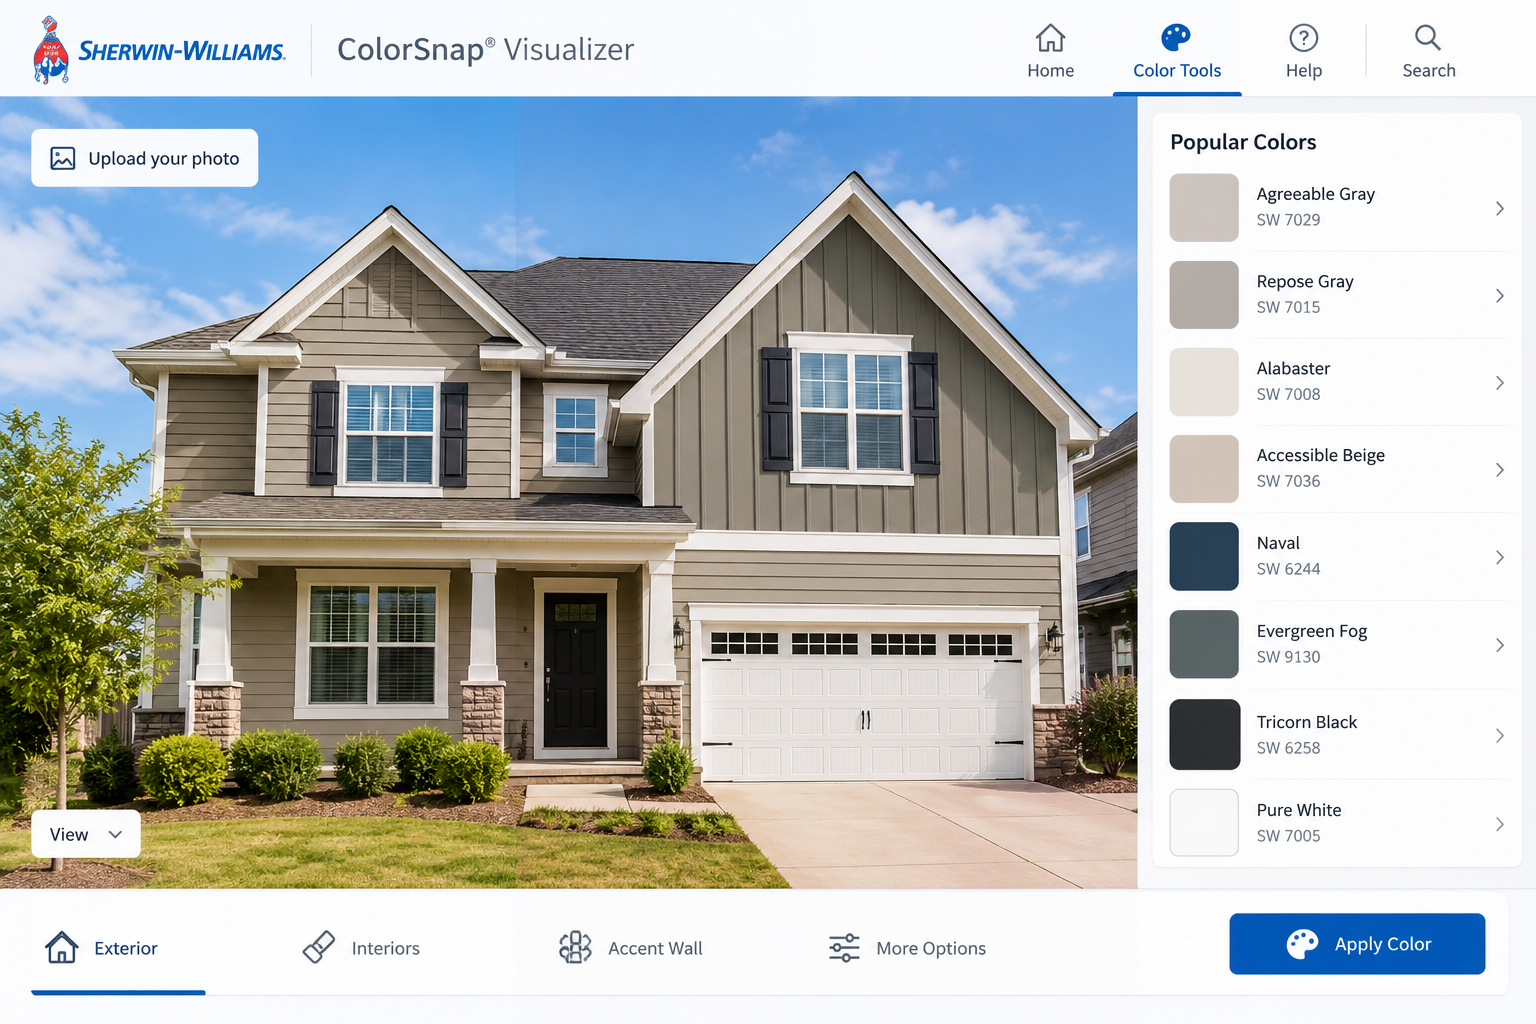
Manufacturer paint visualisers
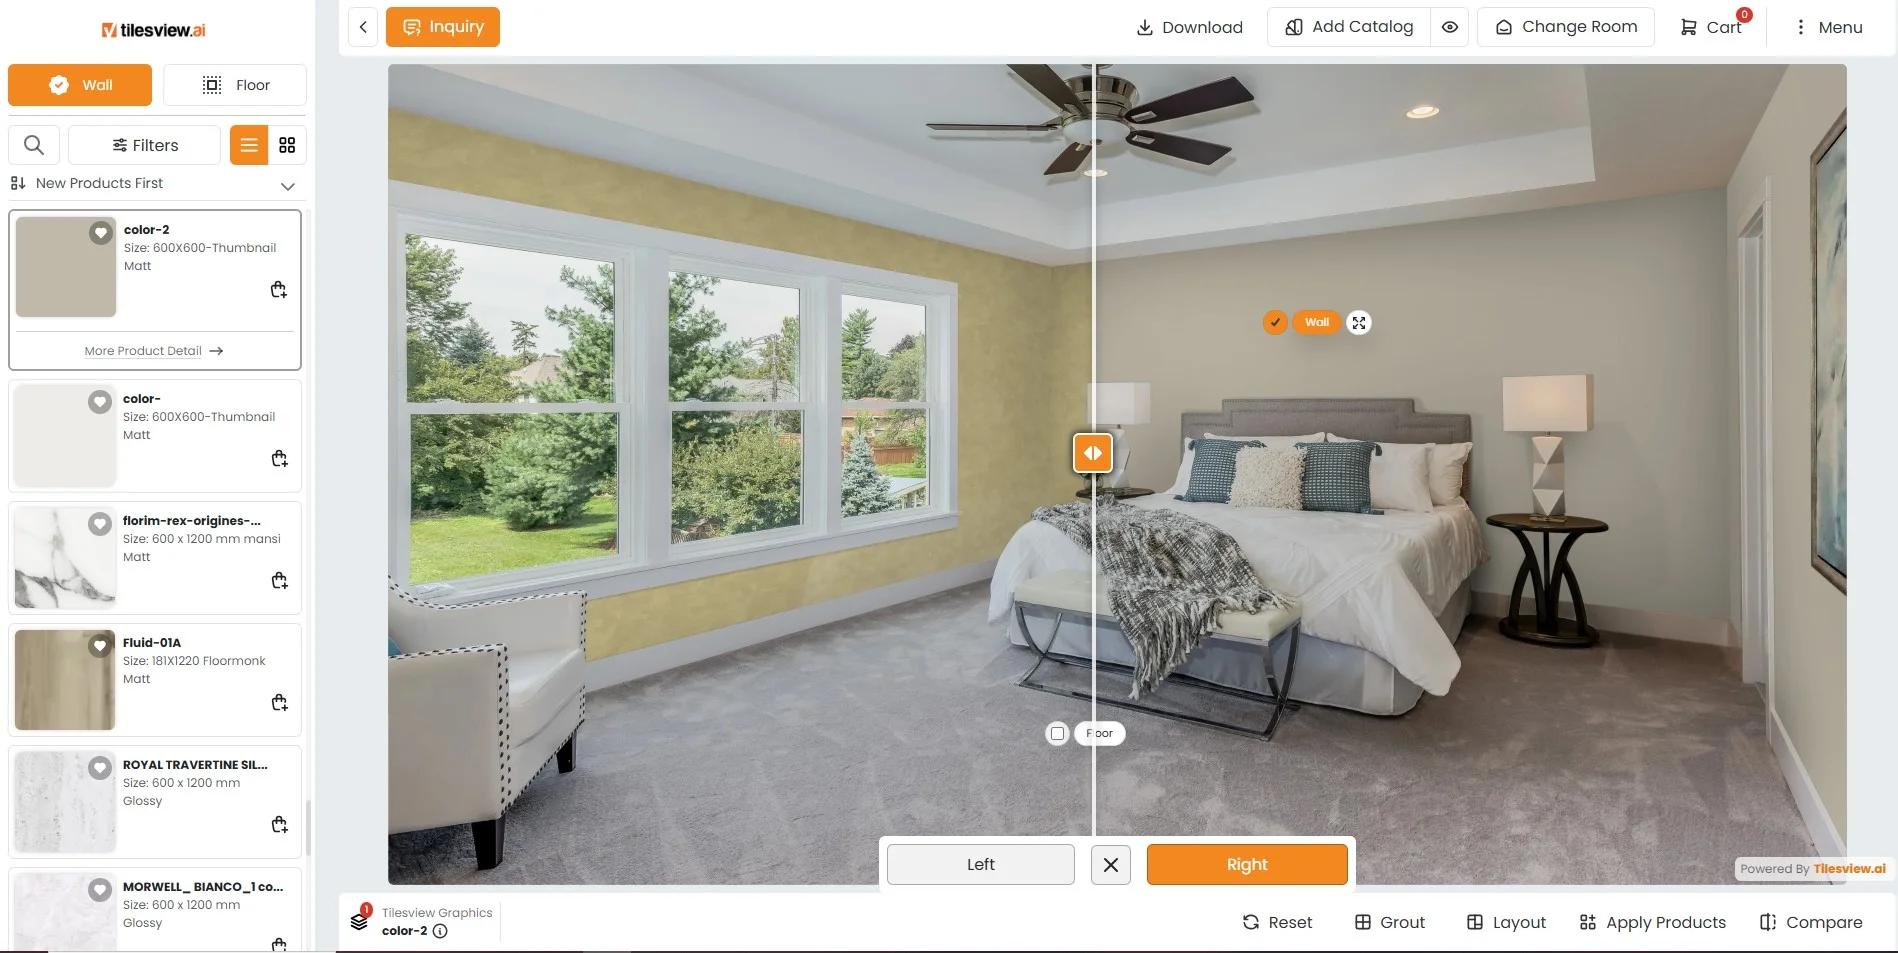
General photo editors
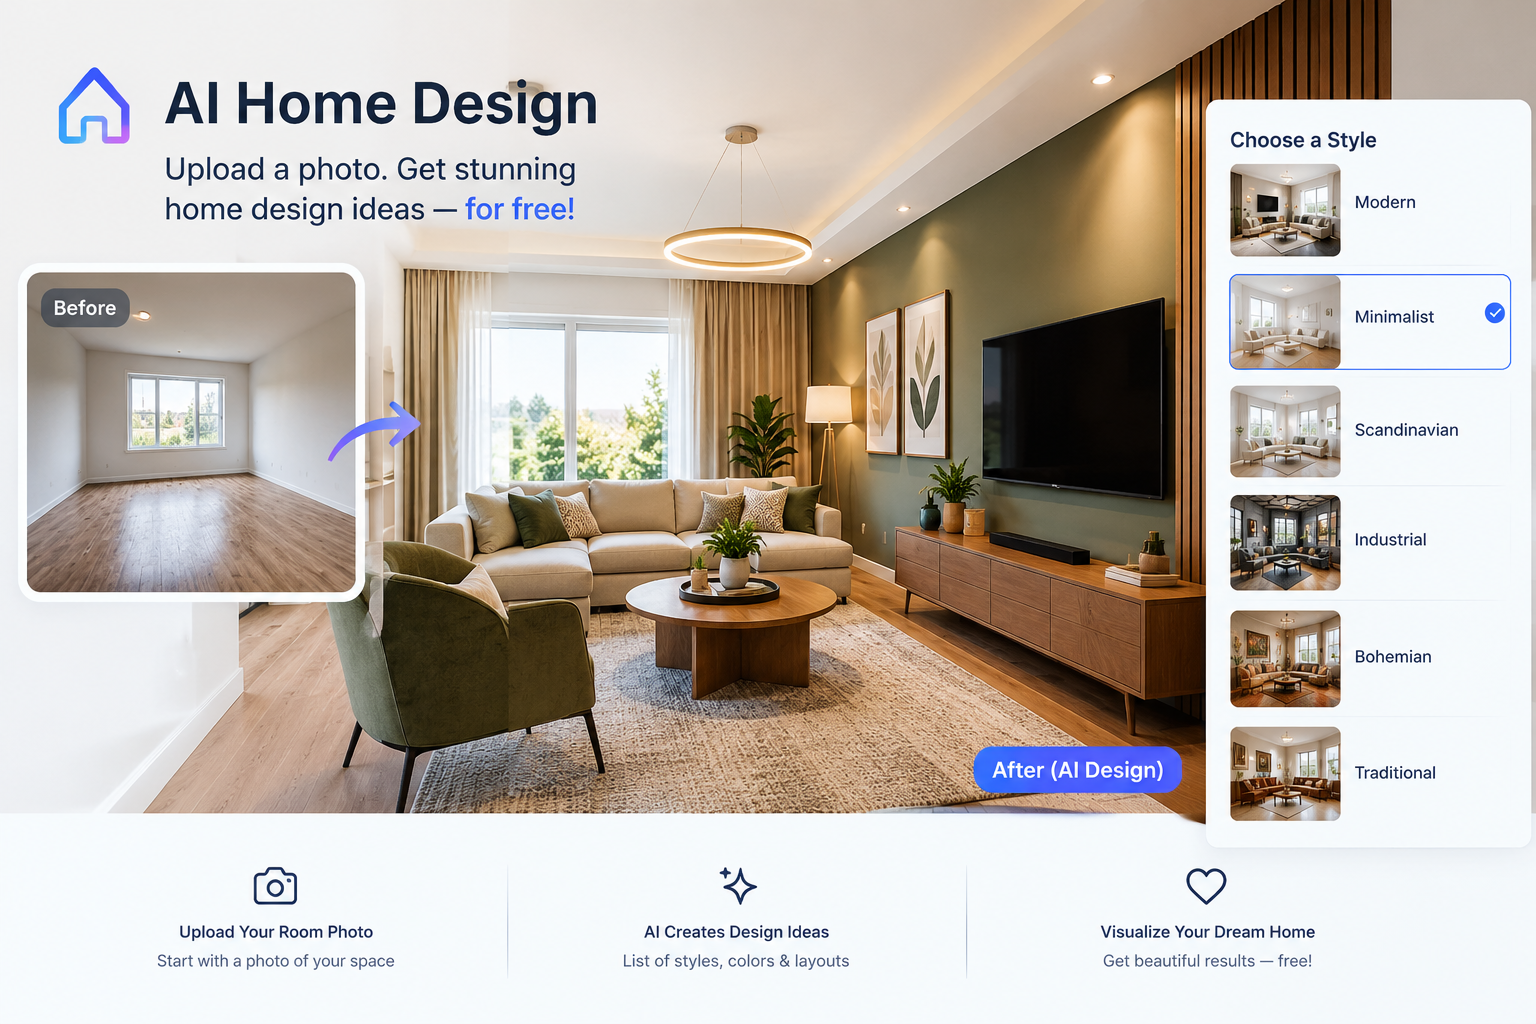
AI redesign previews
A simple digital comparison board
Keep the preview from expanding the bill
Protect your privacy and check the building first
Pair wall colours with the finishes that will remain
When a free preview is the wrong deciding tool
Budget for decisions before budgeting for paint
Make the final choice easier to maintain
Questions about painting your home online for free
Can I upload a photograph of my own room for free?
Do I need to install an app?
Will the preview show the exact paint colour?
Can I preview the outside of my house?
Why has the tool recoloured my curtains or ceiling?
Is there a free tool without registration?
Can I use a screenshot instead of paying to download?
Will an online preview tell me how much paint to buy?
Should I choose the colour or finish first?
What should I show a decorator after using the tool?
Finish with a shortlist, not a screen-based commitment
Related reading
Searching for “paint my home online free” usually means you want a useful answer before buying anything: would a different wall colour actually improve this room? Perhaps the flooring looks too orange, the rental feels flat, or several connected rooms no longer sit comfortably together.
Free online tools can help you narrow the scope of a painting project, not just choose between blue and green. You can test whether the walls need changing at all, whether one room deserves priority, and whether keeping the existing trim will save money without weakening the result.
The important distinction is between a digital suggestion and a paint specification. A convincing picture is a starting point. This approach suits homeowners and renters who want to explore possibilities without paying for design software or committing to a whole-house repaint.
Digital planning can cost nothing; physical painting depends on wall condition, access, paint coverage and who does the work. Including ceilings, doors and trim expands the job considerably. Establish those boundaries before testing colours, because an attractive preview can quietly become a much larger project.
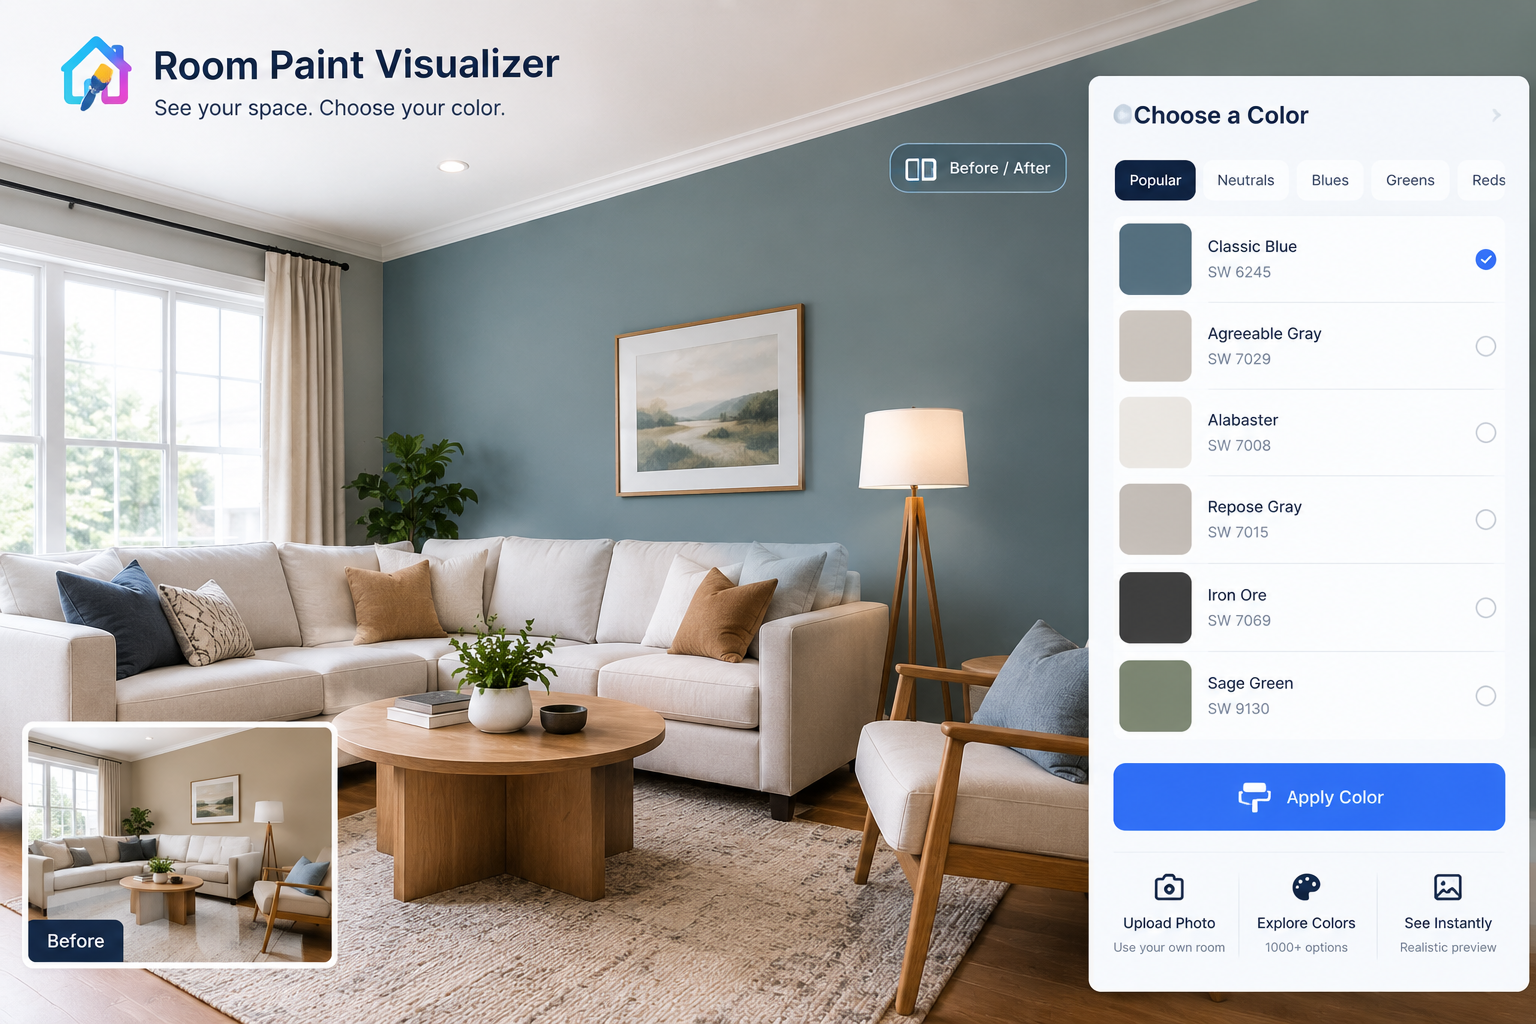
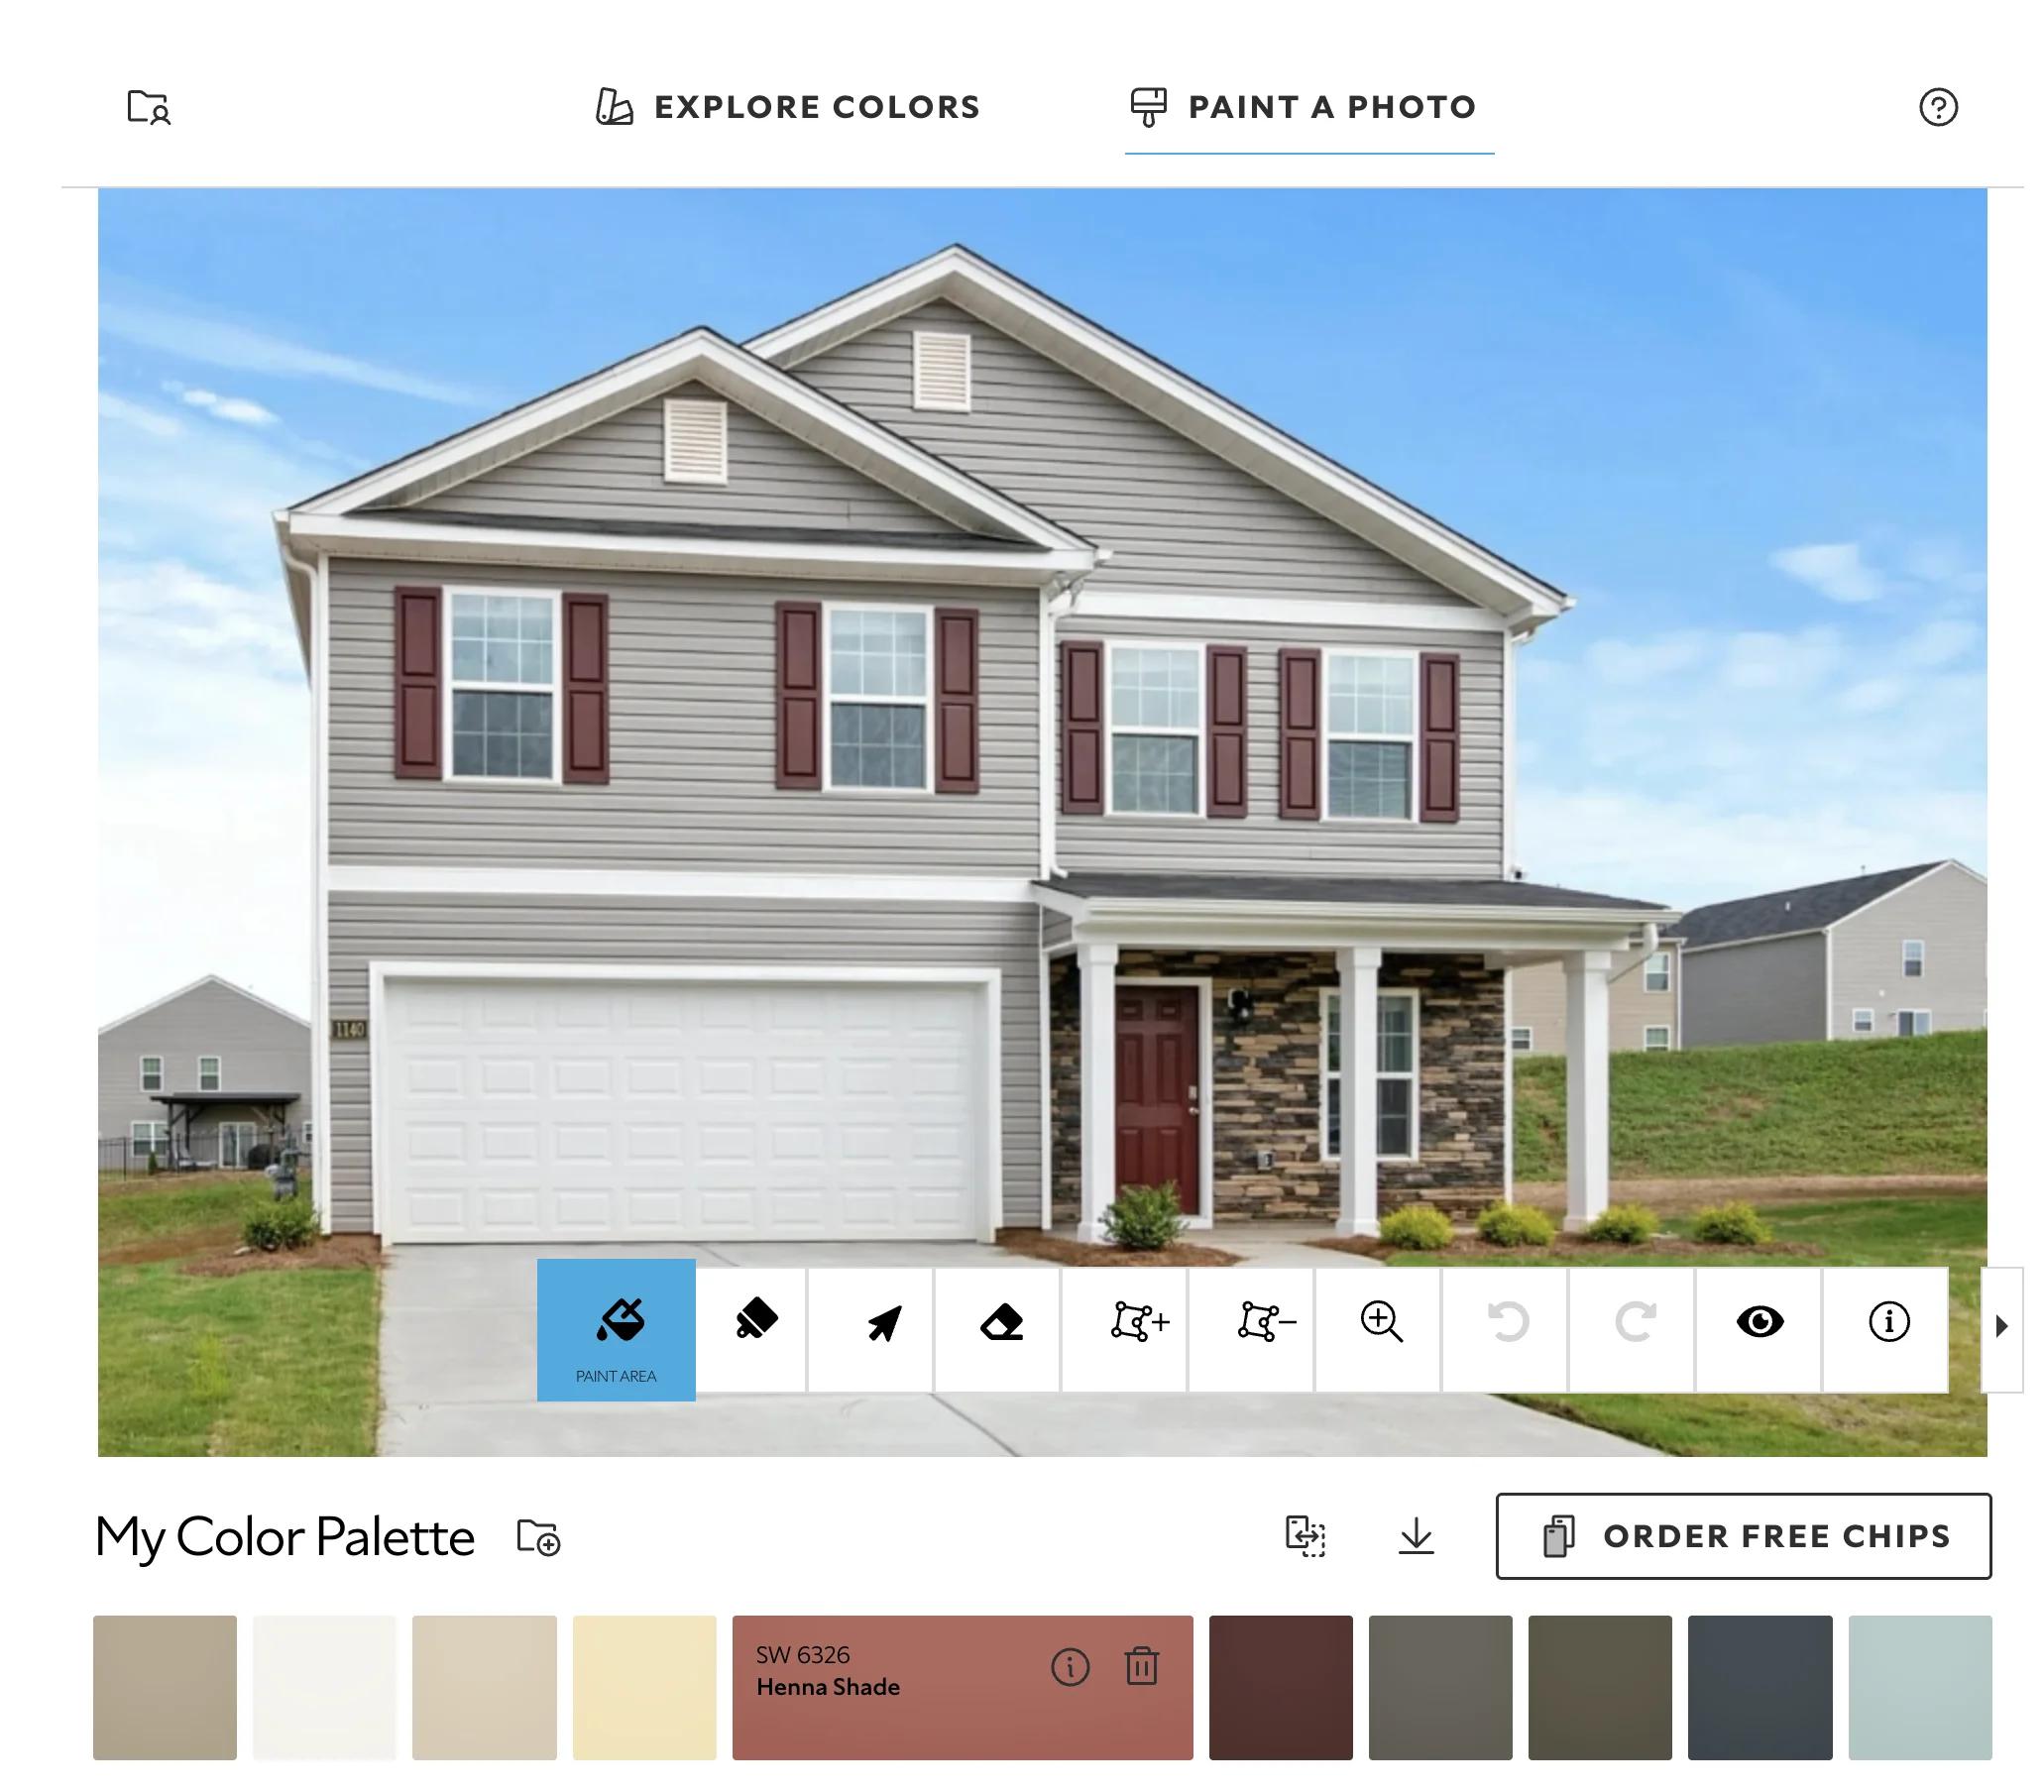
A paint visualiser applies a colour to a selected surface in your photograph. A mask is simply the marked area that receives that colour.
An AI room redesign tool may generate a new version of the entire scene. It can alter lighting, furnishings or architectural details along with the walls. That makes it useful for exploring a mood, but less reliable for judging a paint-only change unless the original room remains intact.
Write down what may change and what must stay. Include flooring, kitchen cabinets, worktops, curtains and large furniture in the fixed list unless you genuinely intend to replace them.
For a rental, check the tenancy agreement and get written permission where required. Clarify approved colours, finishes and any obligation to restore the original decoration. A free preview is useful evidence for discussing a proposal, but it is not permission to carry it out.
Choose one problem to address first: a gloomy hallway, disconnected rooms or walls that fight with existing finishes.
Use an ordinary camera setting rather than a filter or portrait effect. Photograph in balanced daylight, then take a second reference image with your usual evening lighting. Avoid pointing directly towards a bright window, which can make surrounding walls look artificially dark.
Stand far enough back to include the floor, trim and a major furnishing. Keep the camera level. Move small objects away from wall edges if they interfere with selection, but leave the furniture and textiles that influence the colour decision.
Before uploading, check whether the service allows your own photograph, manual wall selection and saving without payment. Some free tools offer only preset rooms; others restrict downloads or the number of generated images.
Also check whether an account is required and how uploaded images are handled. A trial requiring payment details is different from a genuinely free feature. Decide in advance that you will not subscribe merely to rescue one unfinished preview.
Start with one restrained option close to the existing colour, one clearly different alternative and one stronger treatment. Keep the photograph, furnishings and lighting unchanged between versions.
In a small space, test the whole visible wall arrangement rather than assuming a feature wall will help. A contrasting end wall may emphasise the room's shortness. Similar wall and trim colours can reduce visual breaks, although the room's proportions and daylight still matter.
Label each saved version with the colour reference and surfaces included.
Digital tools cannot judge dampness, condensation or surface temperature. In humid conditions, resolve moisture and ventilation problems before specifying a finish. In kitchens, bathrooms and busy entrances, select a coating intended for the substrate and level of cleaning required.
Climate also affects application. Temperature, humidity and ventilation can change drying and recoating times, so follow the product instructions rather than the speed suggested by a weekend makeover plan.
Reduce the options to two or three before paying for samples. Test them on prepared boards or suitable wall patches, using the recommended coats and drying time.
Look at each sample beside the floor and trim in daylight and evening light. Move sample boards around the room. This modest physical test is where a free digital exercise becomes a dependable decision.
These often connect digital colours to a named paint range, making it easier to record a reference for sampling. The tradeoff is a restricted catalogue, and availability varies by region. A named shade on screen is still not a guarantee of its appearance on your wall.
A basic editor can test broad colour relationships without tying you to a paint supplier. Manual selection takes longer, especially around shelves, plants and curtains. Use the result to identify a colour family, then find physical samples locally; a screen colour code is not a paint formula.
These are useful when you are deciding between a restrained update and a more substantial redesign. Ask for walls only, with the original floor, furniture, windows and lighting preserved. Reject versions that improve the room by inventing extra daylight or replacing inconvenient furnishings.
Sometimes placing your room photograph beside two or three colour swatches is enough. It is less immersive but quicker, and it avoids poorly painted digital edges. This works well when the main question is how a proposed wall colour relates to existing materials.
One common budgeting error is accepting every improvement shown in a generated image. New curtains, brighter flooring and concealed storage may make the proposed wall colour look successful. Crop or reject those changes before comparing it with your original photograph.
Another is adding trim because the digital version makes it look easy. Doors, skirting boards and window frames need separate preparation and often different products. Keeping sound existing trim can preserve a modest budget.
Do not estimate paint quantities from a photograph. Measure the surfaces, check the stated coverage and allow for the required coats and substrate condition. Deep colour changes or patchy repairs may need additional preparation or primer, depending on the coating system.
Finally, compare saved versions at the same screen brightness with colour-shifting display modes disabled. This will not calibrate your screen, but it removes one avoidable inconsistency.
Before uploading a room photograph, remove visible mail, family photographs, security details and identifying views where practical. Review the service's storage, sharing and deletion terms, especially for photographs of occupied rental properties.
A preview cannot establish whether a wall is ready to paint. Investigate leaks, recurring mould, peeling coatings and significant cracks before decorating. Persistent moisture or suspected structural movement warrants advice from an appropriately qualified professional.
Older painted surfaces may contain lead, and some textured coatings or building materials may contain asbestos. Do not sand or disturb suspect materials to prepare a sample area. Seek testing and appropriately licensed assessment or remediation in accordance with local requirements.
Keep application areas ventilated as directed, and follow product guidance for protective equipment, drying and safe reoccupation.
Start with the least flexible material. Flooring, stone, tile and fitted cabinetry usually cost more to change than paint, so they deserve priority over a small accessory you may replace later.
Warm timber often sits comfortably with muted warm neutrals, earthy greens and softened blues. Cool grey tile may favour cleaner neutrals or cooler colour families. These are useful starting points, not rules: the exact undertone—the subtle colour beneath the main impression—matters more than a broad label.
Watch near-matches. A creamy wall beside a crisp white cabinet can look pleasantly warm or unexpectedly yellow. Two nearly identical whites may appear accidental when one leans pink and the other green.
Finishes also affect the relationship. A higher sheen reflects more light and can make surface irregularities more noticeable. Most free previews cannot represent that accurately. Test the intended finish where appearance and cleanability are both important.
A standard room-photo tool is a poor fit for judging limewash, polished plaster, metallic coatings or other finishes whose appeal depends on texture and changing reflections. Physical sample panels are more informative.
It is also insufficient for colour-critical restoration, shared-building approvals or exact matching to an existing coating. Those situations may require documented specifications, specialist assessment or approval samples.
For an exterior, use a tool that can handle the actual facade rather than stretching an interior editor to fit. Weather exposure, masonry condition, neighbourhood restrictions and safe access require separate assessment. A pleasant image does not establish technical suitability or permission.
Treat the following as illustrative planning allowances in US dollars, not quotations or universal market rates. Local products, taxes, labour and room condition vary substantially.
Ask contractors to separate wall preparation, walls, ceilings and trim in their quotations. Check the specified coating system, protection, cleanup and exclusions. If the budget is tight, complete one room properly rather than spreading insufficient preparation across the whole home.
Once the physical samples confirm your choice, save the manufacturer, colour name or code, finish and product line. Add the date, room, surfaces painted and any primer used. Keep the digital preview too, but do not rely on it as your only colour record.
Retain labelled leftover paint according to the manufacturer's storage instructions. Touch-ups can remain visible because of ageing, sheen differences or application method; repainting to a natural corner sometimes gives a better result.
Allow the coating to cure before cleaning it. Dry-to-touch and fully cured are different stages. Use the recommended cleaning method rather than assuming every washable finish tolerates abrasive scrubbing.
Some services allow this; others reserve uploads for paid plans or offer only stock rooms. Check the current feature list before creating an account.
Not necessarily. Browser-based tools may work on a phone or computer. A larger screen generally makes wall selection and edge correction easier.
No. Camera exposure, screen settings, lighting and the software's rendering all affect appearance. Use the preview to shortlist colours, then confirm them with physical samples.
Yes, with a suitable exterior tool. Include the roof, paving, brickwork and neighbouring context in the photograph. Check permissions and coating suitability separately.
Automatic selection has probably confused similar surfaces or unclear edges. Correct the mask manually if possible, or retake the photograph with more even lighting and clearer boundaries.
Some tools offer guest access, but requirements change. Look for a usable demonstration before submitting details, and check whether saving the result requires an account.
If the service permits personal screenshots, they can serve as private comparison notes. Check its terms, do not remove watermarks, and record colour references separately.
Not reliably from a photograph alone. Use measured dimensions and the product's coverage guidance. A linked calculator is useful only when its measurements and coat assumptions are correct.
Identify the performance requirements first, then choose a suitable colour and finish together. A hallway needing frequent cleaning has different demands from a lightly used bedroom.
Share the original photograph, preferred preview, exact colour references and a written surface list. Discuss preparation and inspect physical samples together before approving the work.
The best free preview reduces uncertainty without enlarging the job. Keep the existing room honest, test only a few alternatives and spend first on confirming the choice rather than buying full tins.
If you would like to compare a paint-only update with a broader room direction, explore the DecorAdTechadvice redesign tool. Keep your fixed finishes in view, and let physical samples settle the final colour decision.
Home Painting Visualizer: Choose Colours Before You Paint — Explore the home painting visualizer to effectively compare colors and ensure your online paint choices match your room's lighting.
Latest News Decorator advice.com: Test a Room Before Renovating — Explore how to test paint colors and layouts in a room before renovating, ensuring your choices align with your vision.
Latest News DecoratorAdvice.com: A Practical Home Filter — Explore how to assess decorating updates in your home to complement your new paint colors and enhance your overall design strategy.
How to Decorate My House: A Complete Room-by-Room Guide (2026) — Explore the room-by-room framework in the decorating guide to effectively apply your chosen paint colors and enhance your home's aesthetic.
The Decoradhouse Guide: Practical Ideas for a Home That Actually Works — Explore practical ideas for improving your home's layout and lighting in Decoradhouse, complementing your online paint planning for a cohesive look.